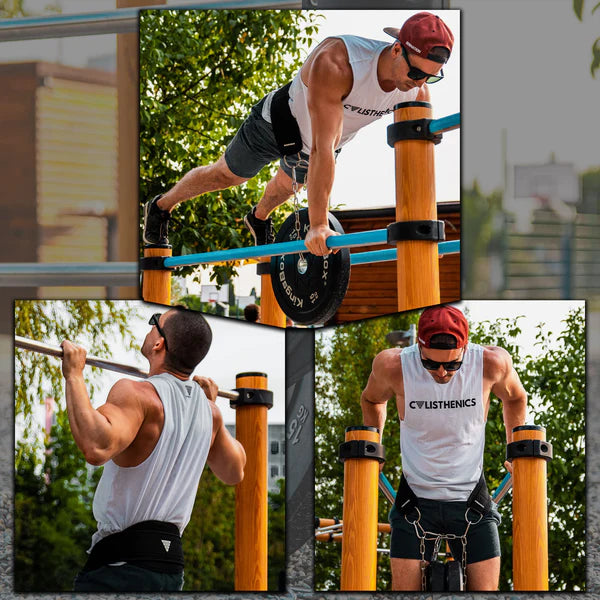
5 quick tips for your Dip Belt:
1. Your new workout equipment can be used for many different exercises, like Pull Ups, Muscle Ups, Push Ups or Squats.
2. Make sure to place the Dip Belt directly on your hips. If you wear the belt too high on your lower back it can force your hips to rotate and create a hollow back.
3. As well as placing the belt right above your glutes, it's also very important to place it centered. Make sure that both ends of the Dip Belt are on the same height. Otherwise the weight will put the pressure unevenly on your body which will cause imbalances and in the worst case injuries.
4. Progressive overload can benefit your training by avoiding plateaus. Use your Dip Belt for increasing the resistance and get stronger in your overall performance.
5. Sometimes it's useful to attach the weight closer to your body. In this case you can easily remove the carabiner and use a different chain link to shorten the chain.
How to attach the Dip Belt
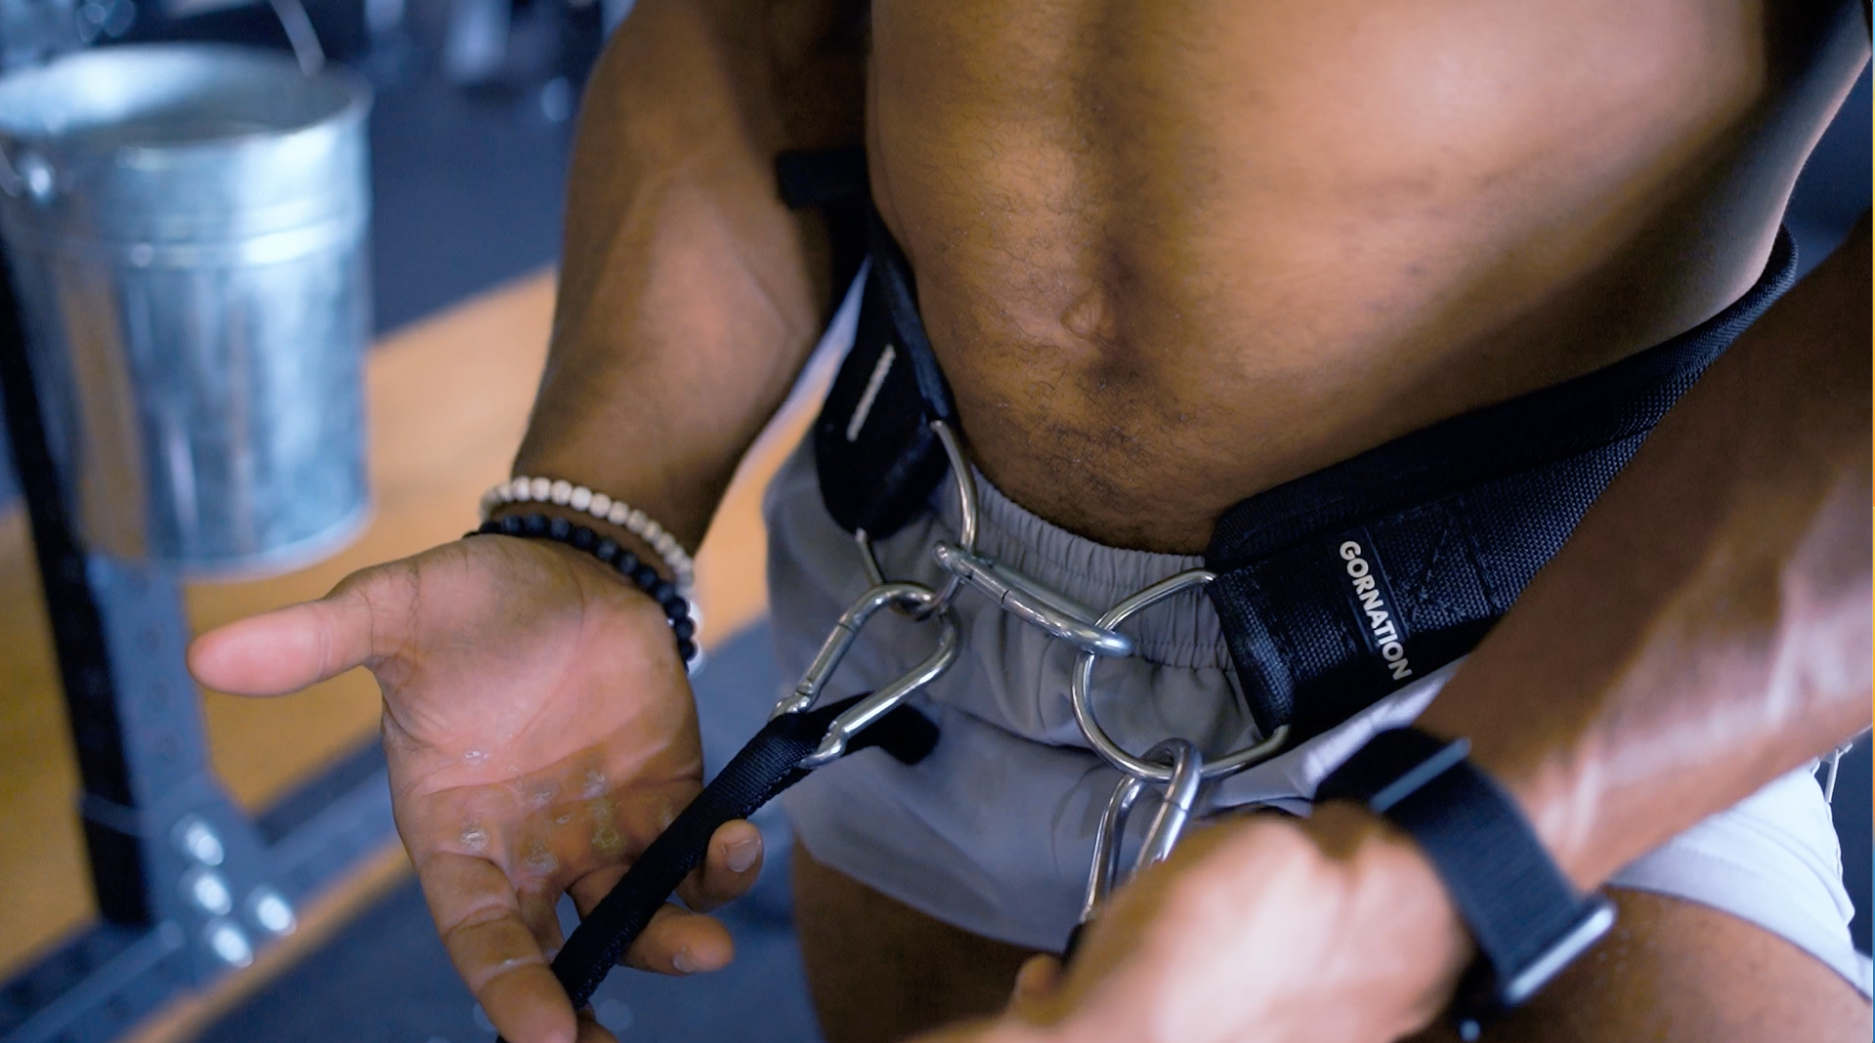
You have different ways to attach the Dip Belt at your waist. See below to find the two most common ones. Like this you ensure that the belt can't slide down your hip and you can focus on your reps.
With 2 carabiners

Step 1: Attach chain to the right ring of the belt with a carabiner.
Step 2: Pass the chain through the left ring.
Step 3: Pass chain through weight plate hole (or through handle of kettlebell).
Step 4: Pass chain through right ring of belt and attach to left ring with carabiner.
With 3 carabiners

Step 1: Attach both rings of the belt together with a carabiner.
Step 2: Attach chain to one of the rings with a carabiner.
Step 3: Pass the chain through the weight plate hole (or through the handle of the kettlebell).
Step 4: Attach chain to second ring with a carabiner.
 | 3.700+ Reviews
 Free EU Shipping above 100€*
 200.000+ Customers Worldwide
 Worldwide Tracked Shipping


